


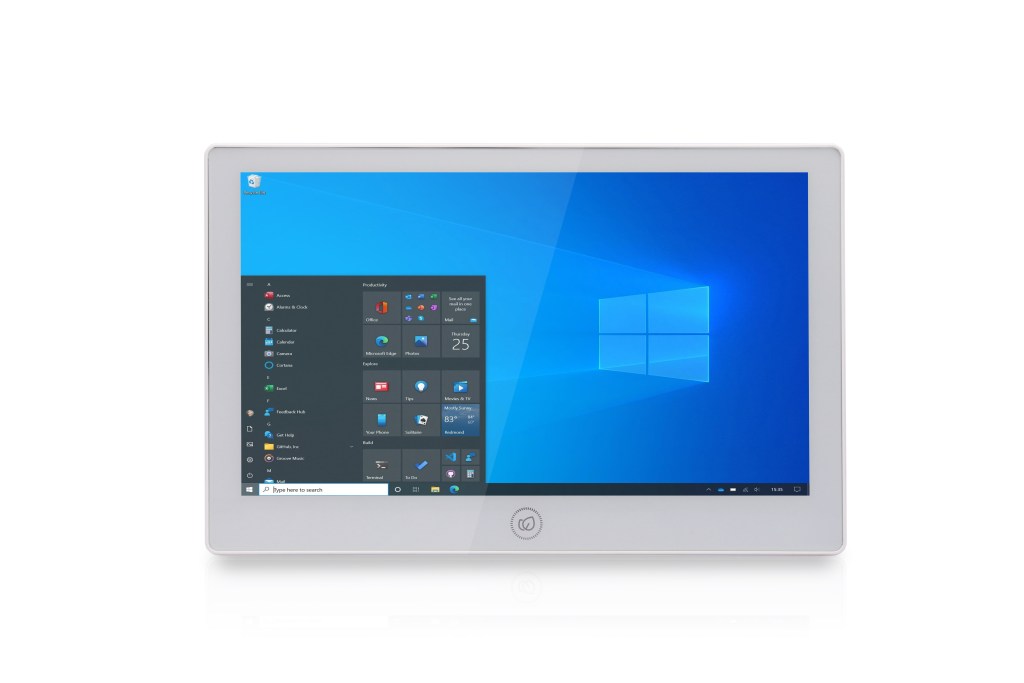
In today’s fast-evolving industrial automation landscape, the Fanless industrial panel pc—plays a critical role in many production environments. Whether used for CNC control, food processing, or smart factory systems, an industrial panel PC is known for its rugged design, fanless cooling, and wide voltage support.
In this guide, we’ll walk you through the step-by-step assembly of an fanless industrial panel PC, and explore how it enhances reliability and efficiency in real-world industrial settings.
What Is an Fanless industrial panel pc Used For?
Fanless industrial panel pc are purpose-built to operate reliably in harsh environments. The panel PC variant integrates a touchscreen and display into a compact form factor, suitable for:
- CNC machine control: Real-time interface for precision operations
- Food and beverage manufacturing: IP-rated panels support glove touch and washdown
- Industrial automation systems: Works with PLCs, sensors, and SCADA systems
- Smart factories: Used in MES systems for production line monitoring
- Warehouse and logistics: Acts as an HMI for barcode scanning and inventory control
What You Need to Assemble an Fanless Industrial Panel PC
Before assembly, make sure you have the following components, commonly found in Fanless industrial panel pc systems:
- Industrial motherboard (e.g., Intel J6412 or i5/i7 series)
- Rugged front bezel and back cover (usually aluminum alloy)
- LCD screen + capacitive touchscreen
- RAM and SSD (often SO-DIMM DDR4 and M.2 SSD)
- Phoenix 3-pin power connector (9–36V DC input)
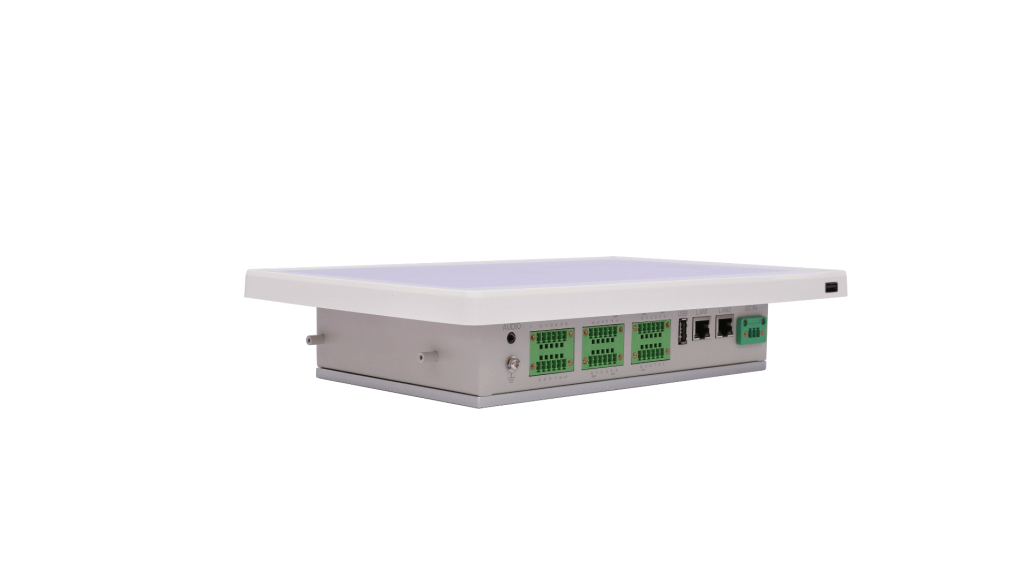
- I/O ports (LAN, COM, USB, HDMI, etc.)
- Fanless cooling elements (thermal pads or heat sinks)
Step-by-Step Assembly Process
1. Mount the Motherboard
Fix the motherboard into the rear shell using insulating spacers. Connect the power module to the industrial power input.
2. Install RAM and SSD
Insert the memory and SSD modules carefully. Anti-static precautions are a must during this stage.
3. Connect Display and Touchscreen
Use LVDS/eDP and USB cables to connect the screen and touchscreen to the motherboard. Secure cables using adhesive or brackets.
4. Assemble the Front Panel
Place the LCD + touchscreen into the front bezel. Seal the edges and tighten screws to ensure no dust or water can penetrate.
5. Configure I/O Interfaces
Insert and secure the required industrial I/O ports, such as RS-232/485, USB 3.0, dual LAN, etc., as per your project needs.
6. Power-On Test
Connect to a 12V/24V industrial power source. Check BIOS display, touchscreen function, and I/O interface communication.
Key Features of a High-Quality Industrial Computer
- Wide voltage input (9–36V DC) and wide temperature tolerance
- Fanless design for high reliability in dusty or vibration-prone settings
- Rich I/O ports for easy system integration
- IP65-rated front panel for water and dust protection
- Flexible mounting options: panel mount, VESA, wall mount
Conclusion
Building your own industrial panel PC requires attention to detail—from hardware layout to I/O connectivity and thermal control. Whether you’re integrating it into a smart factory, food production line, or CNC system, a well-designed industrial computer ensures stable, long-term performance.
🔧 Want to see the video version of this guide? Subscribe to our [https://www.youtube.com/channel/UCgeFN82dpqsPtvCLMic2gvg] or follow us on sales14@cesipc.com for more insights on industrial panel pc solutions.

